In this guide, I’ll walk you through the process of increasing the disk size of a VirtualBox virtual machine (VM) and allocating the additional space using GParted.
Step-by-Step Guide
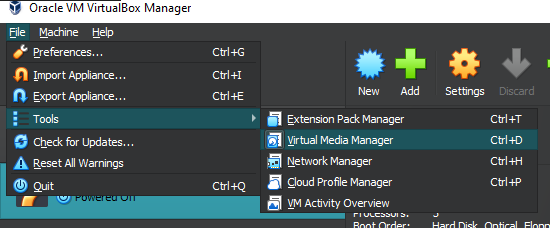
1. Access the Virtual Media Manager
Go to the Virtual Media Manager of the VM you want to resize. You can find this under File > Virtual Media Manager.
2. Select the Disk to Resize
Find the disk you want to increase in size and double-click it.

3. Increase Disk Size
At the bottom of the screen, drag the slider to the right to increase the disk size to your desired value.

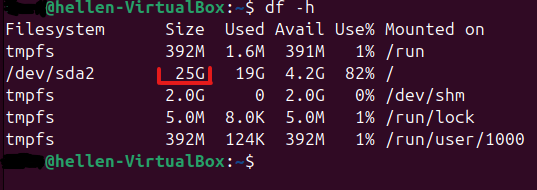
4. Verify Disk Size in the VM
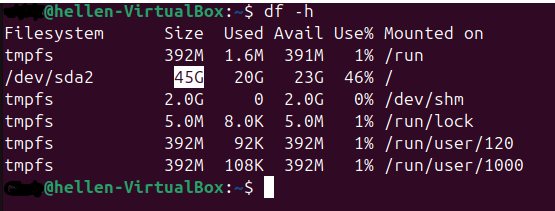
Start your VM and run the following command in the terminal to check the disk size:
df -h
You’ll notice that the size remains the same because the additional space hasn’t been allocated yet.
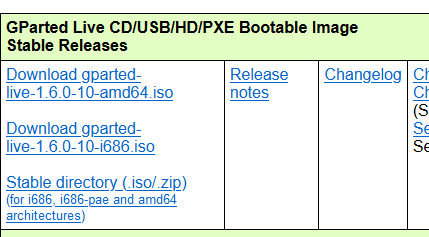
5. Download GParted ISO
We’ll use GParted to allocate the new disk space. Download the ISO file here.
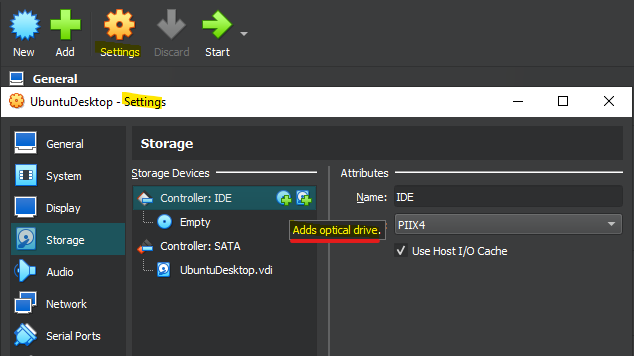
6. Attach the GParted ISO
- In VirtualBox, go to the Settings of the VM you want to resize.
- Navigate to Storage.
- Click on Add Optical Drive.
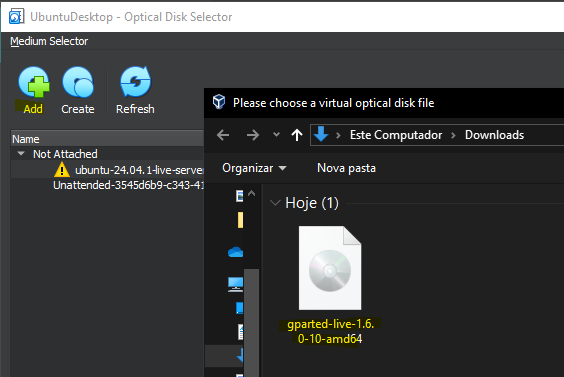
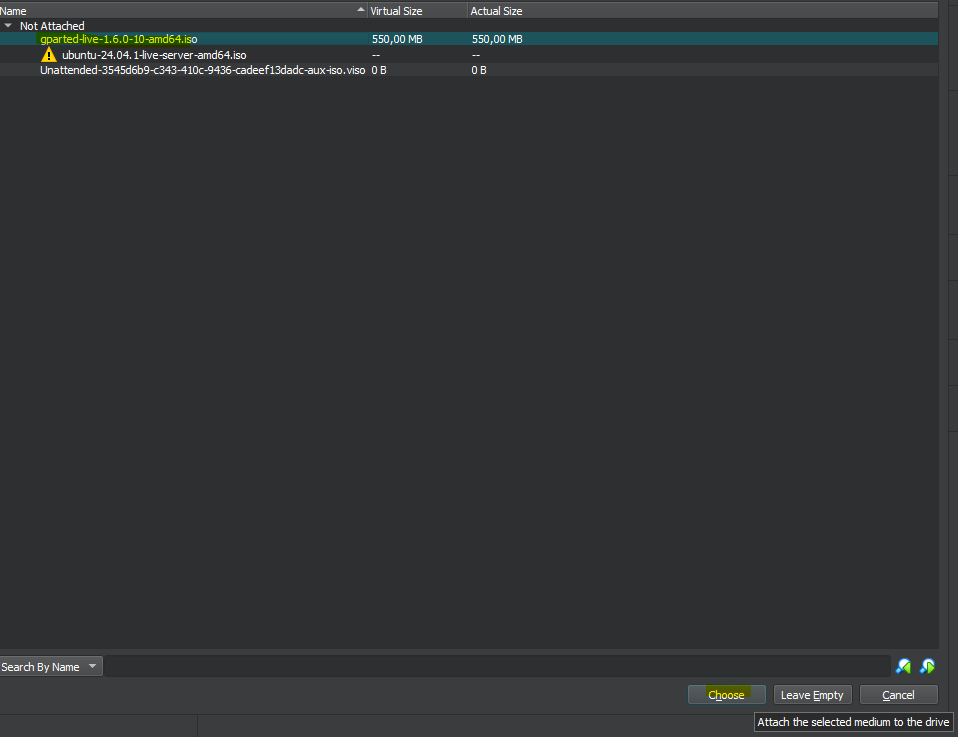
7. Select the GParted ISO
- Click Add and locate the GParted
.isofile you just downloaded. - Select the ISO, then click Choose at the bottom of the screen.
8. Boot the VM with GParted
Start the VM. You should see the following screen:
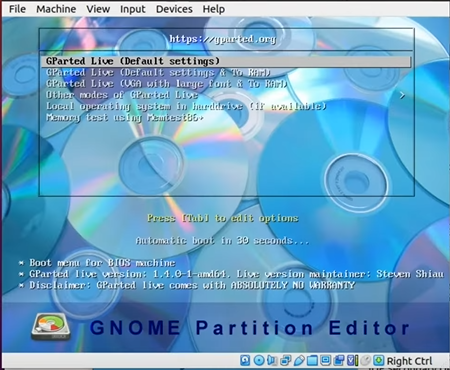
Press Enter.
9. Launch GParted
When prompted, press Enter again to proceed with the default options.
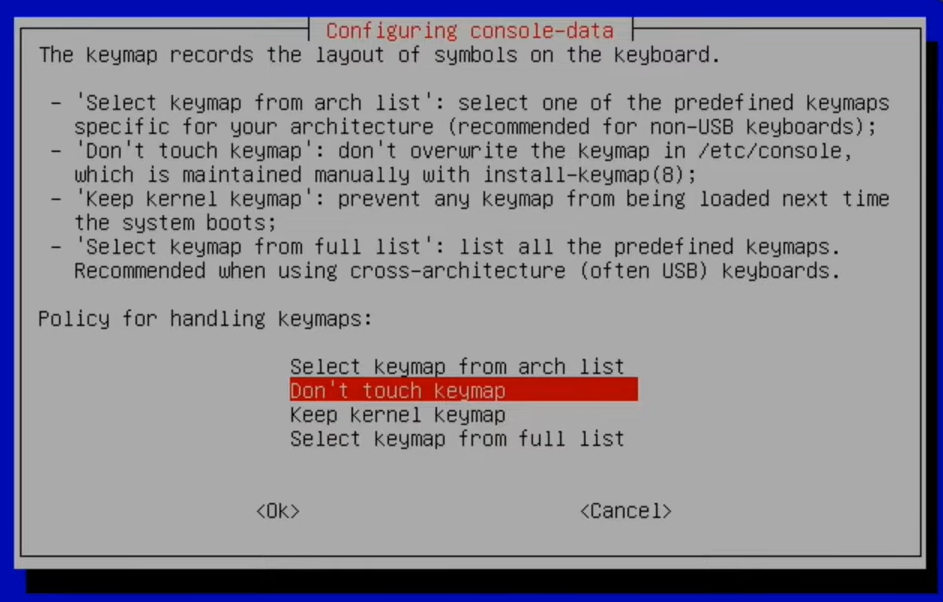
After selecting your language, choose option 0 to start GParted with its graphical interface.
10. GParted Interface
Once GParted loads, you’ll see its graphical interface:
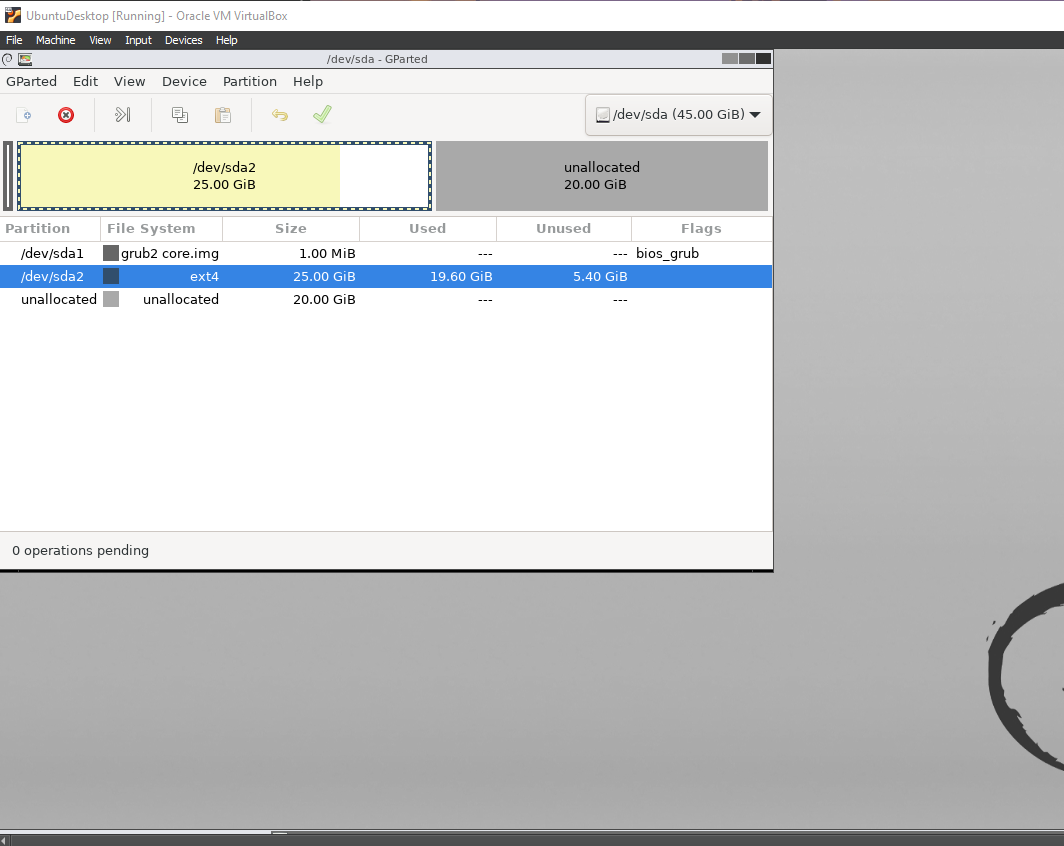
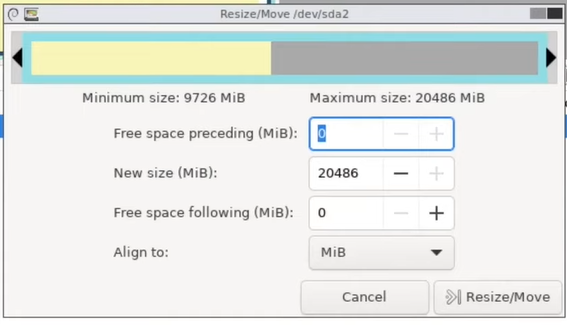
11. Resize the Partition
- Double-click the partition you want to resize.
- Drag the slider to allocate the remaining unallocated space.
- Click Resize/Move.
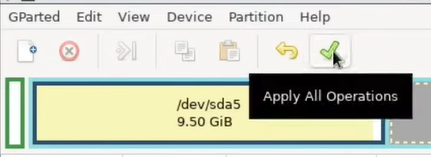
12. Apply the Changes
Click Apply All Operations to finalize the resizing.
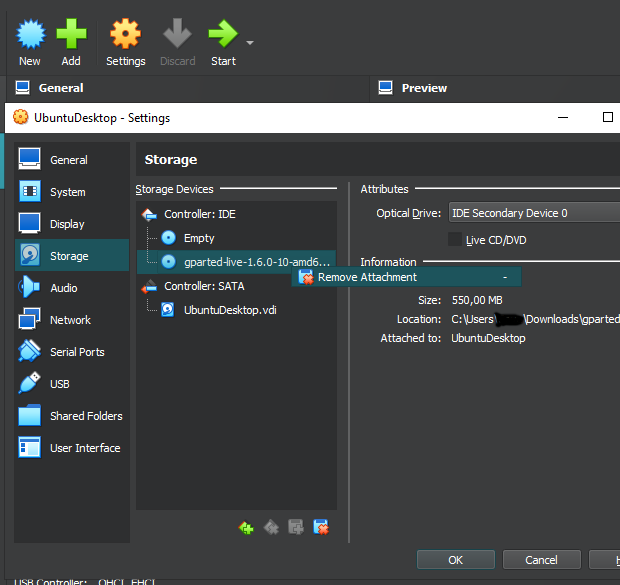
13. Detach the GParted ISO
- Shut down the VM.
- Go to Settings > Storage.
- Remove the GParted ISO from the Optical Drive.
14. Verify the New Disk Size
Start your VM again. Run the following command to check the new disk size:
df -h
You should now see the updated disk size.
Conclusion
Congratulations! 🎉 You have successfully increased the disk size of your VirtualBox VM and allocated the additional space using GParted.